DIY Shrub Installation: Step-by-Step Guide for Homeowners


Transforming your garden with lush, vibrant shrubs can significantly enhance your home's curb appeal. Whether you're looking to add privacy, create a focal point, or simply beautify your space, installing shrubs yourself can be a rewarding project. Follow this step-by-step guide to ensure your DIY shrub installation is a success.
Planning Your Shrub Installation
Before you start digging, it's essential to plan your shrub installation carefully. Consider the size and growth habits of the shrubs you want to plant. Make sure to choose varieties that will thrive in your climate and soil conditions. Additionally, think about the purpose of your shrubs—are they for decoration, privacy, or erosion control?
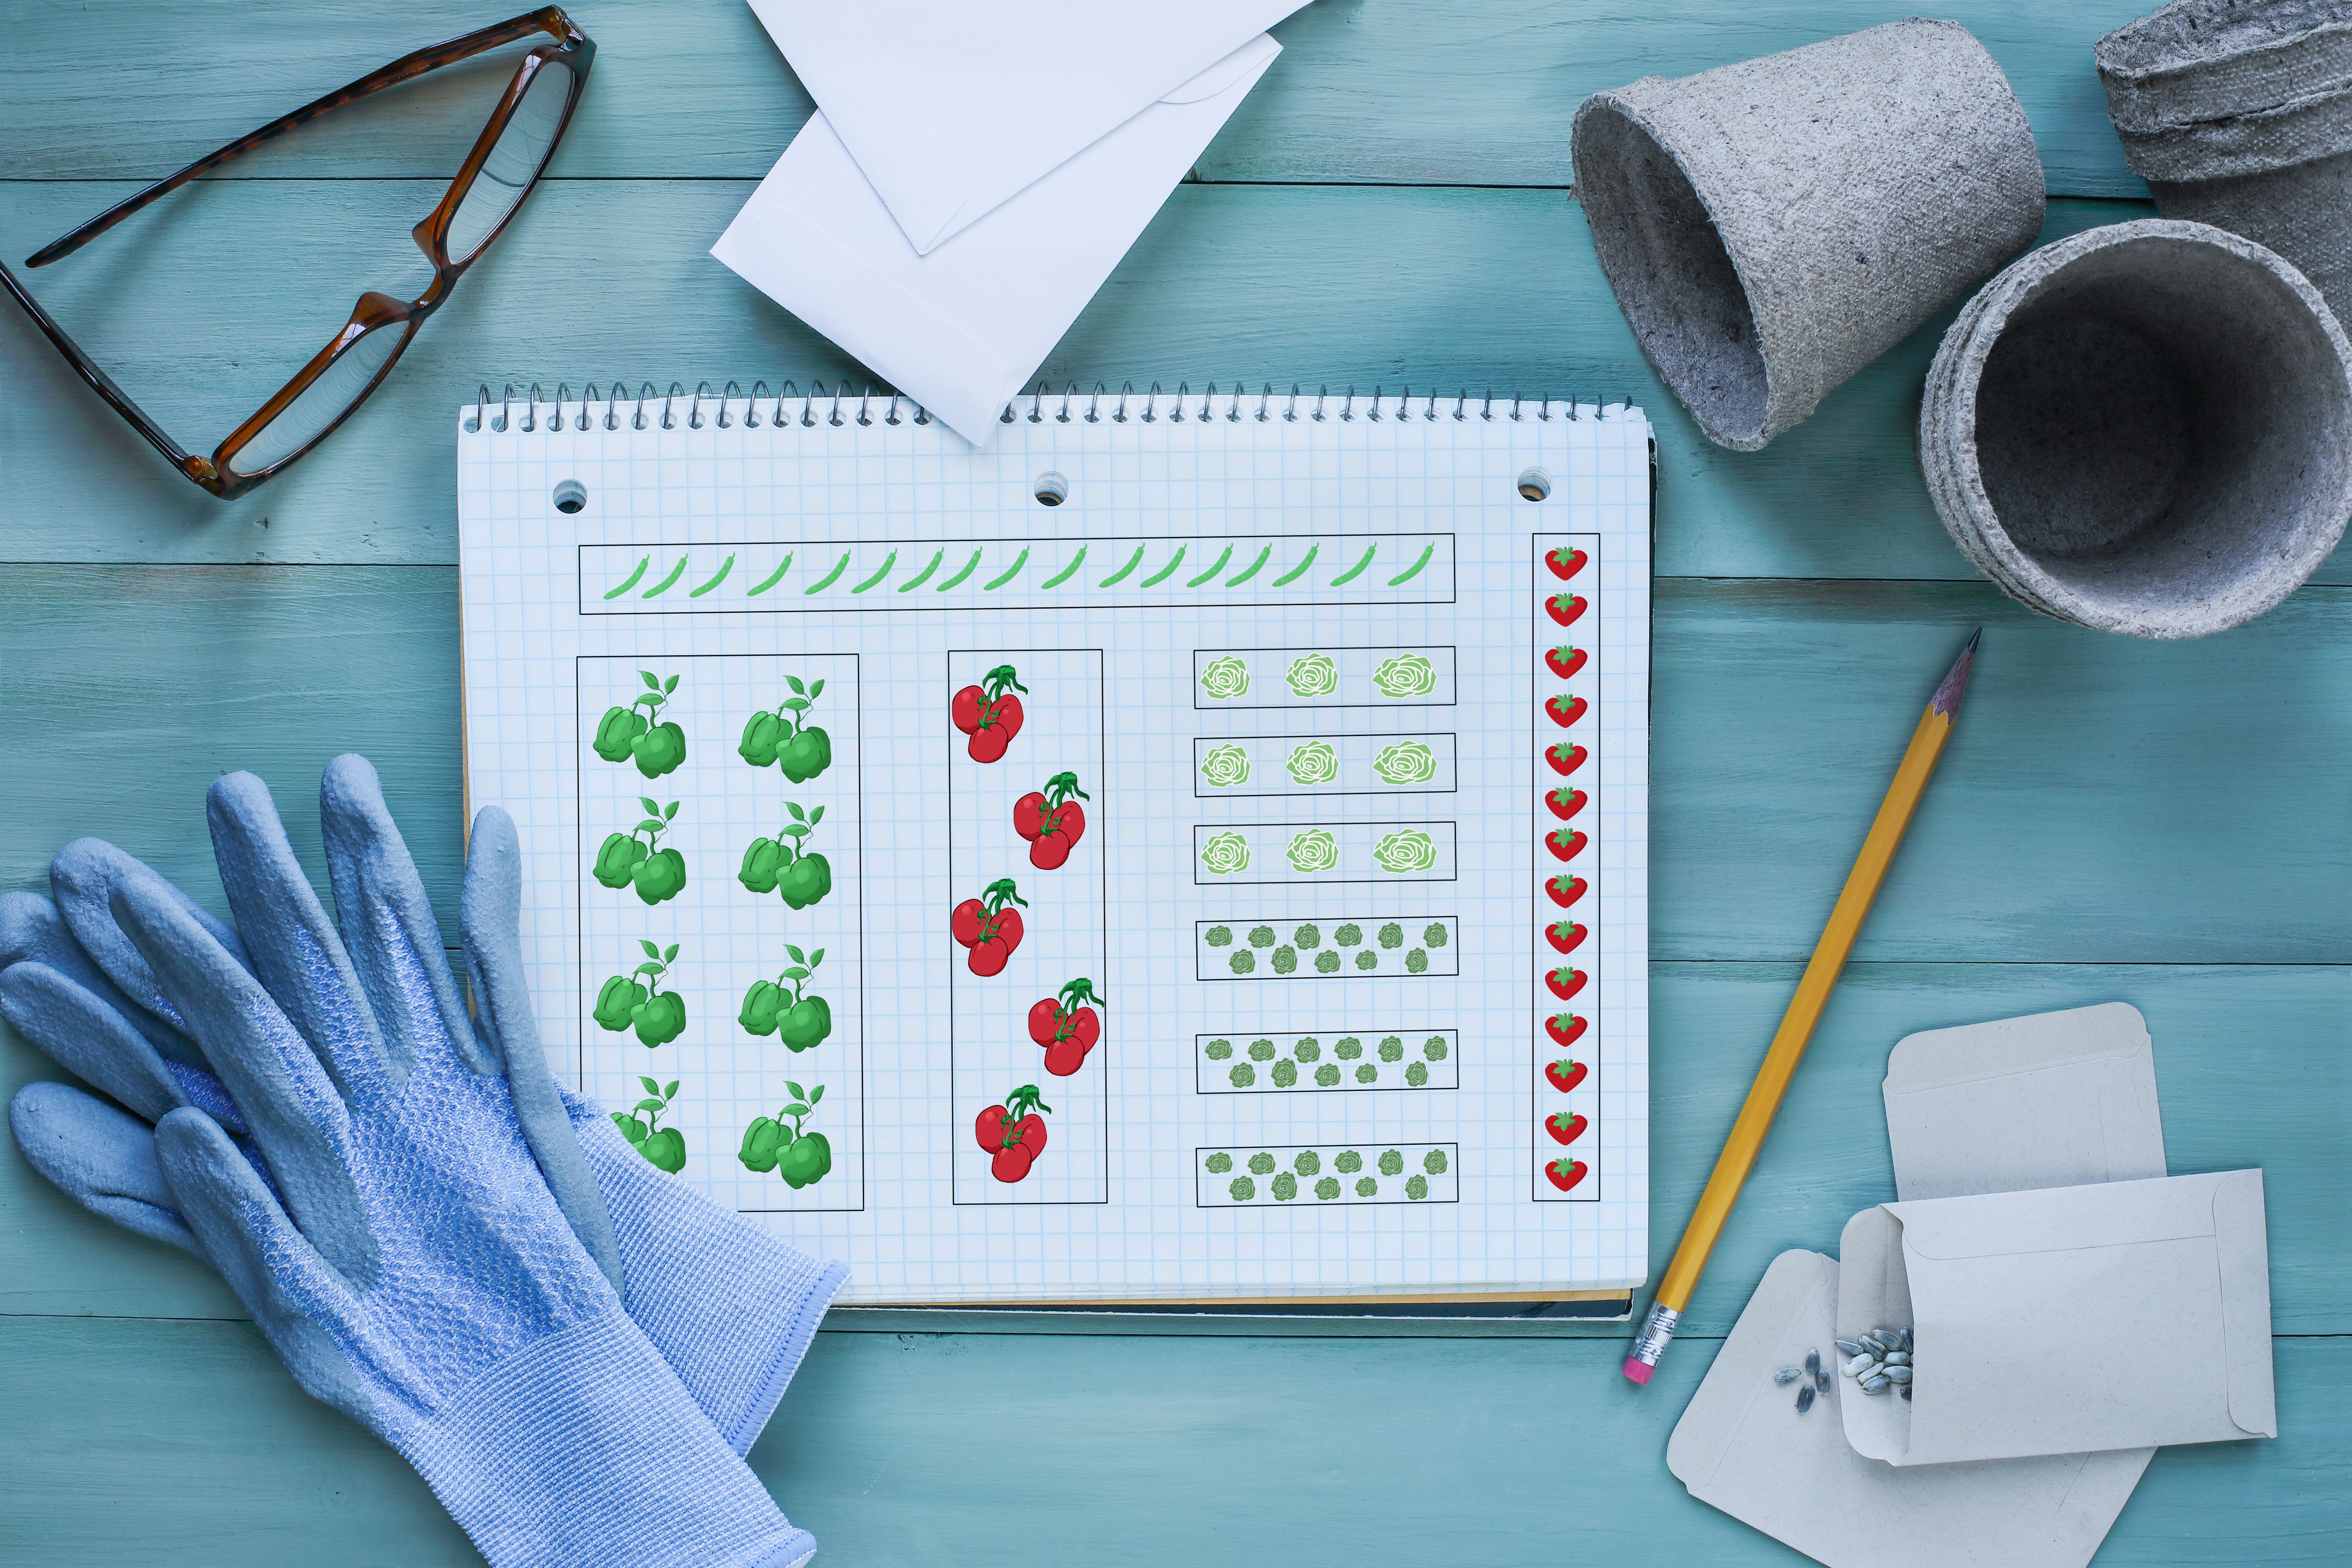
Once you've selected the right shrubs, map out their placement in your garden. Take into account the amount of sunlight each spot receives and the proximity to other plants. Proper spacing is crucial to allow air circulation and prevent overcrowding as the shrubs mature.
Gathering the Necessary Tools and Materials
Having the right tools and materials on hand will make the installation process smoother. Here's a list of what you'll need:
- Shovel
- Garden gloves
- Compost or soil conditioner
- Mulch
- Watering can or hose
Make sure to wear appropriate clothing and protective gear to ensure safety while working in your garden.
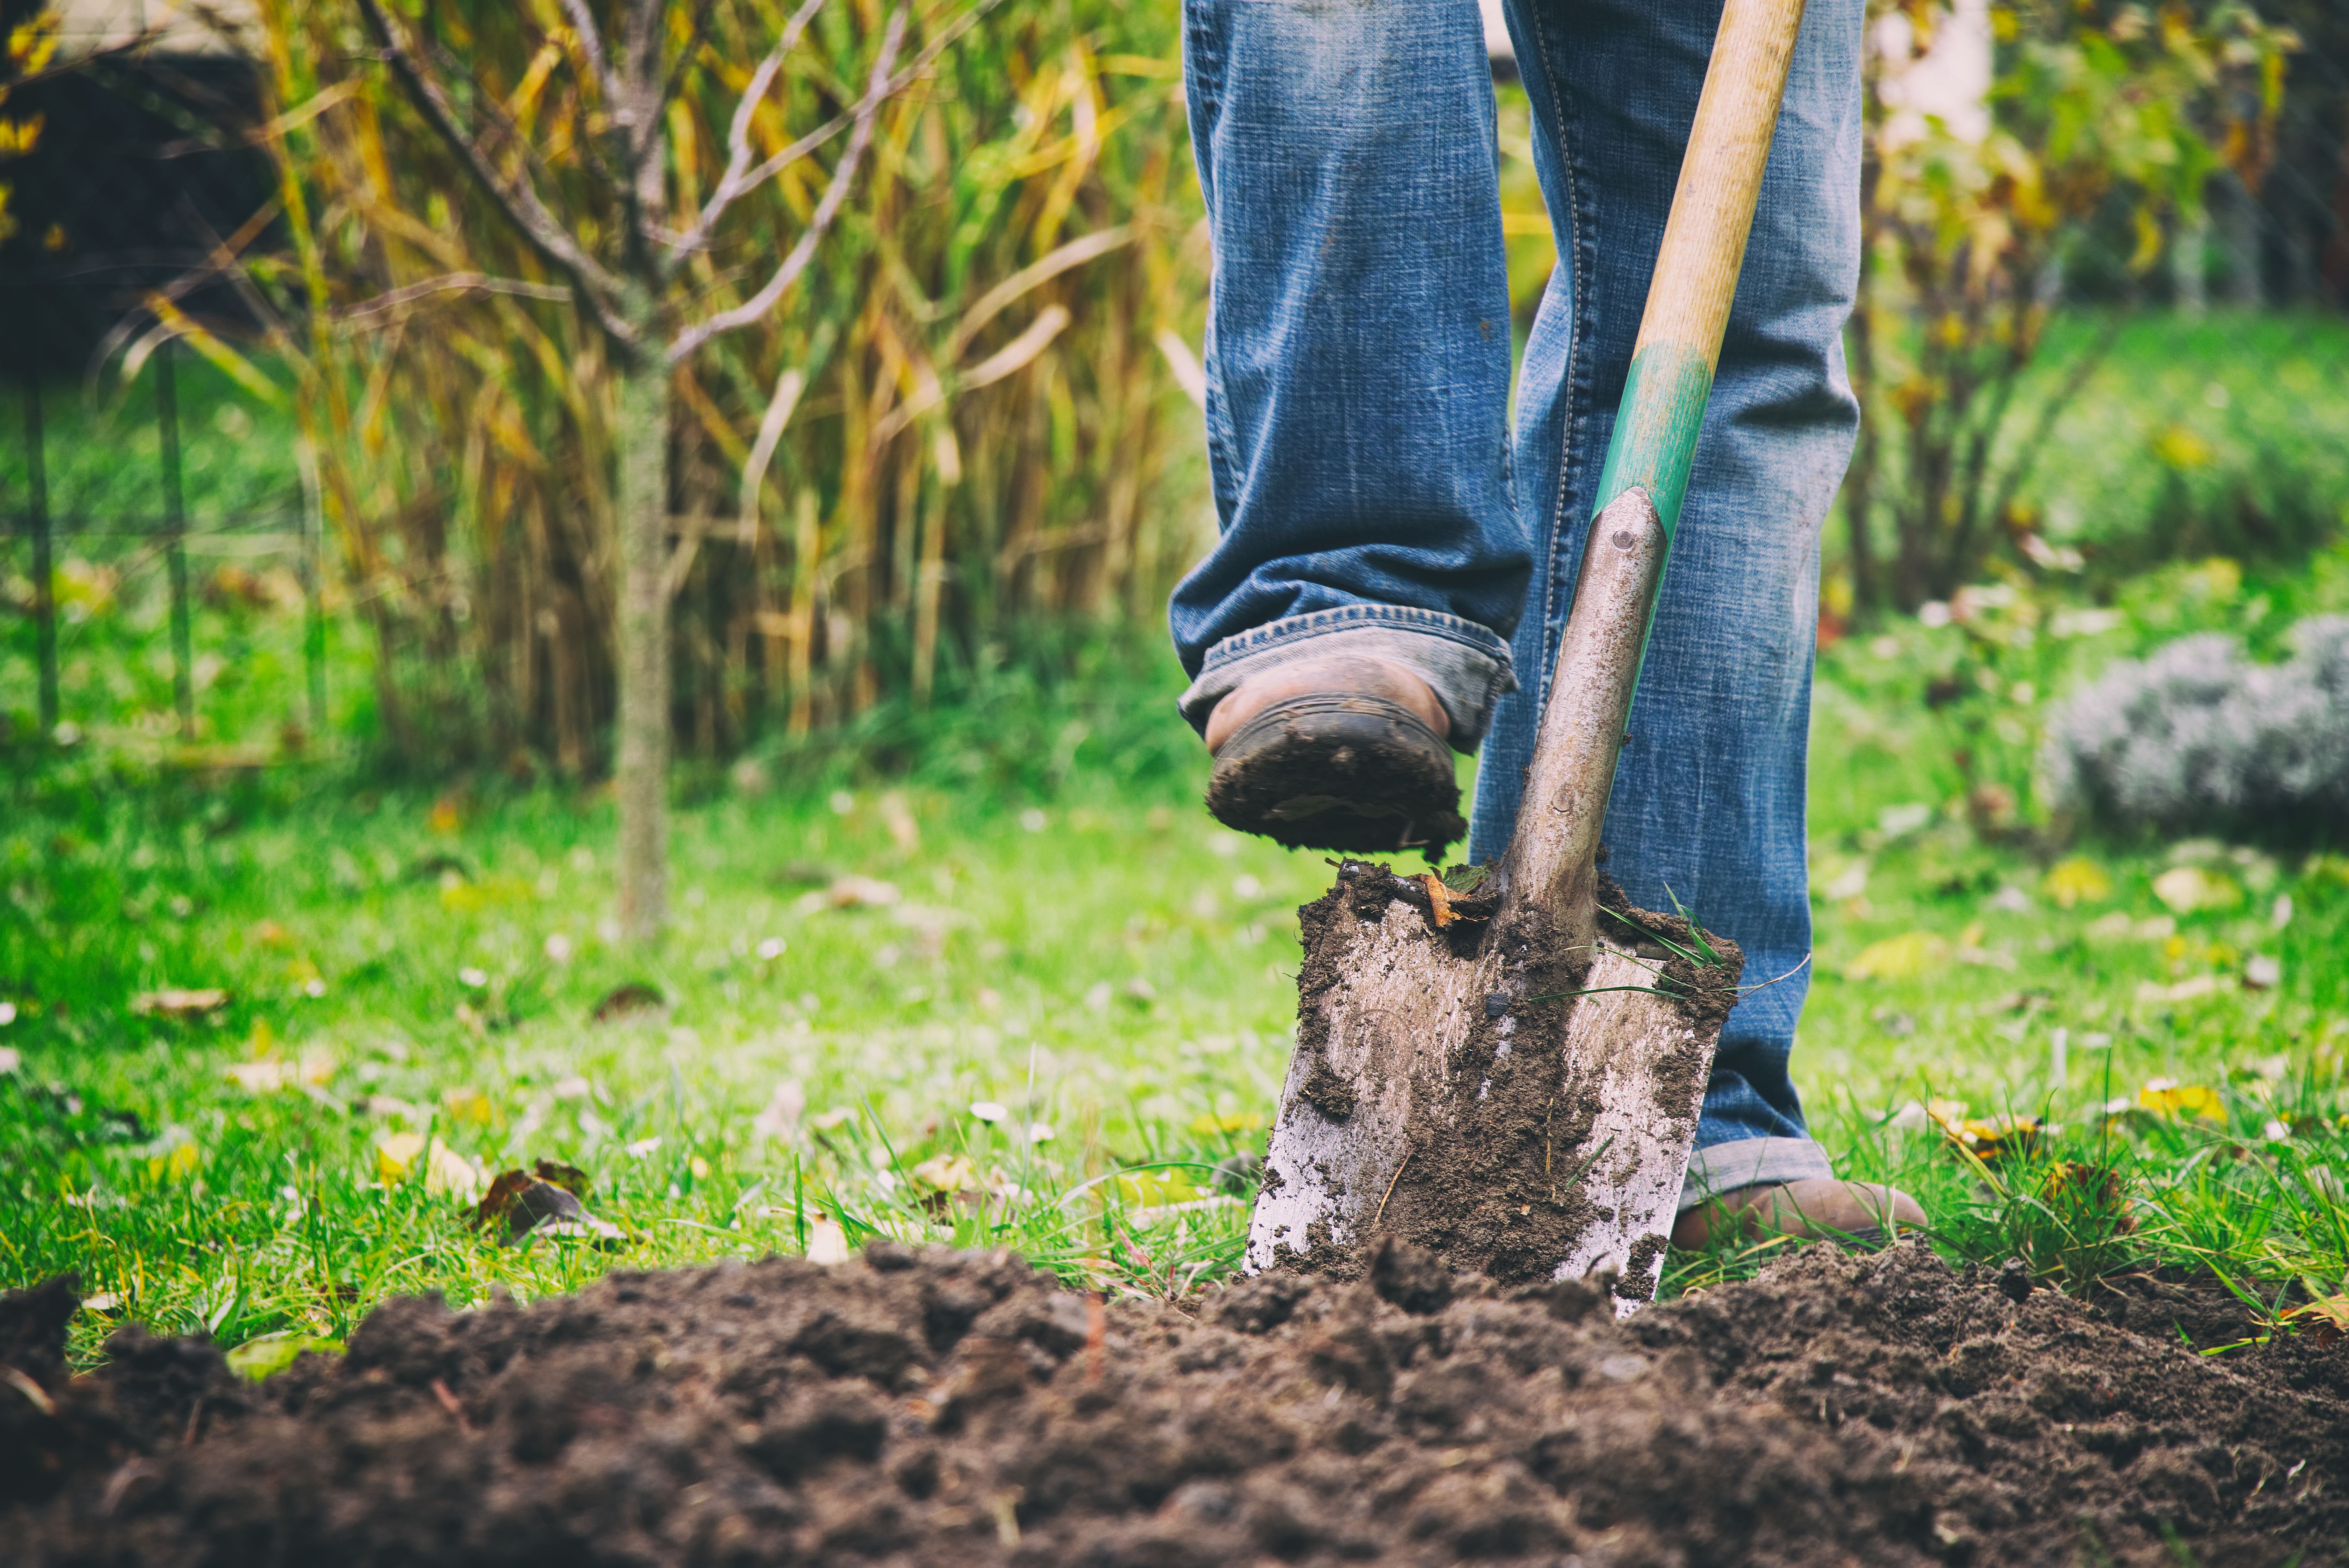
Preparing the Planting Site
Start by clearing the area of any weeds, rocks, or debris. This will give your shrubs a healthy start by reducing competition for nutrients and water. Next, dig a hole that's twice as wide and just as deep as the root ball of your shrub.
Mix some compost or soil conditioner into the excavated soil to improve its fertility. This will help your shrubs establish quickly and grow robustly.
Planting the Shrubs
Carefully remove the shrub from its container, taking care not to damage the roots. Place the shrub in the center of the hole, ensuring that the top of the root ball is level with the surrounding ground. Backfill the hole with the enriched soil, gently tamping it down to eliminate air pockets.
Water the shrub thoroughly to help settle the soil. This step is crucial as it ensures that the roots make good contact with the soil, promoting healthy growth.
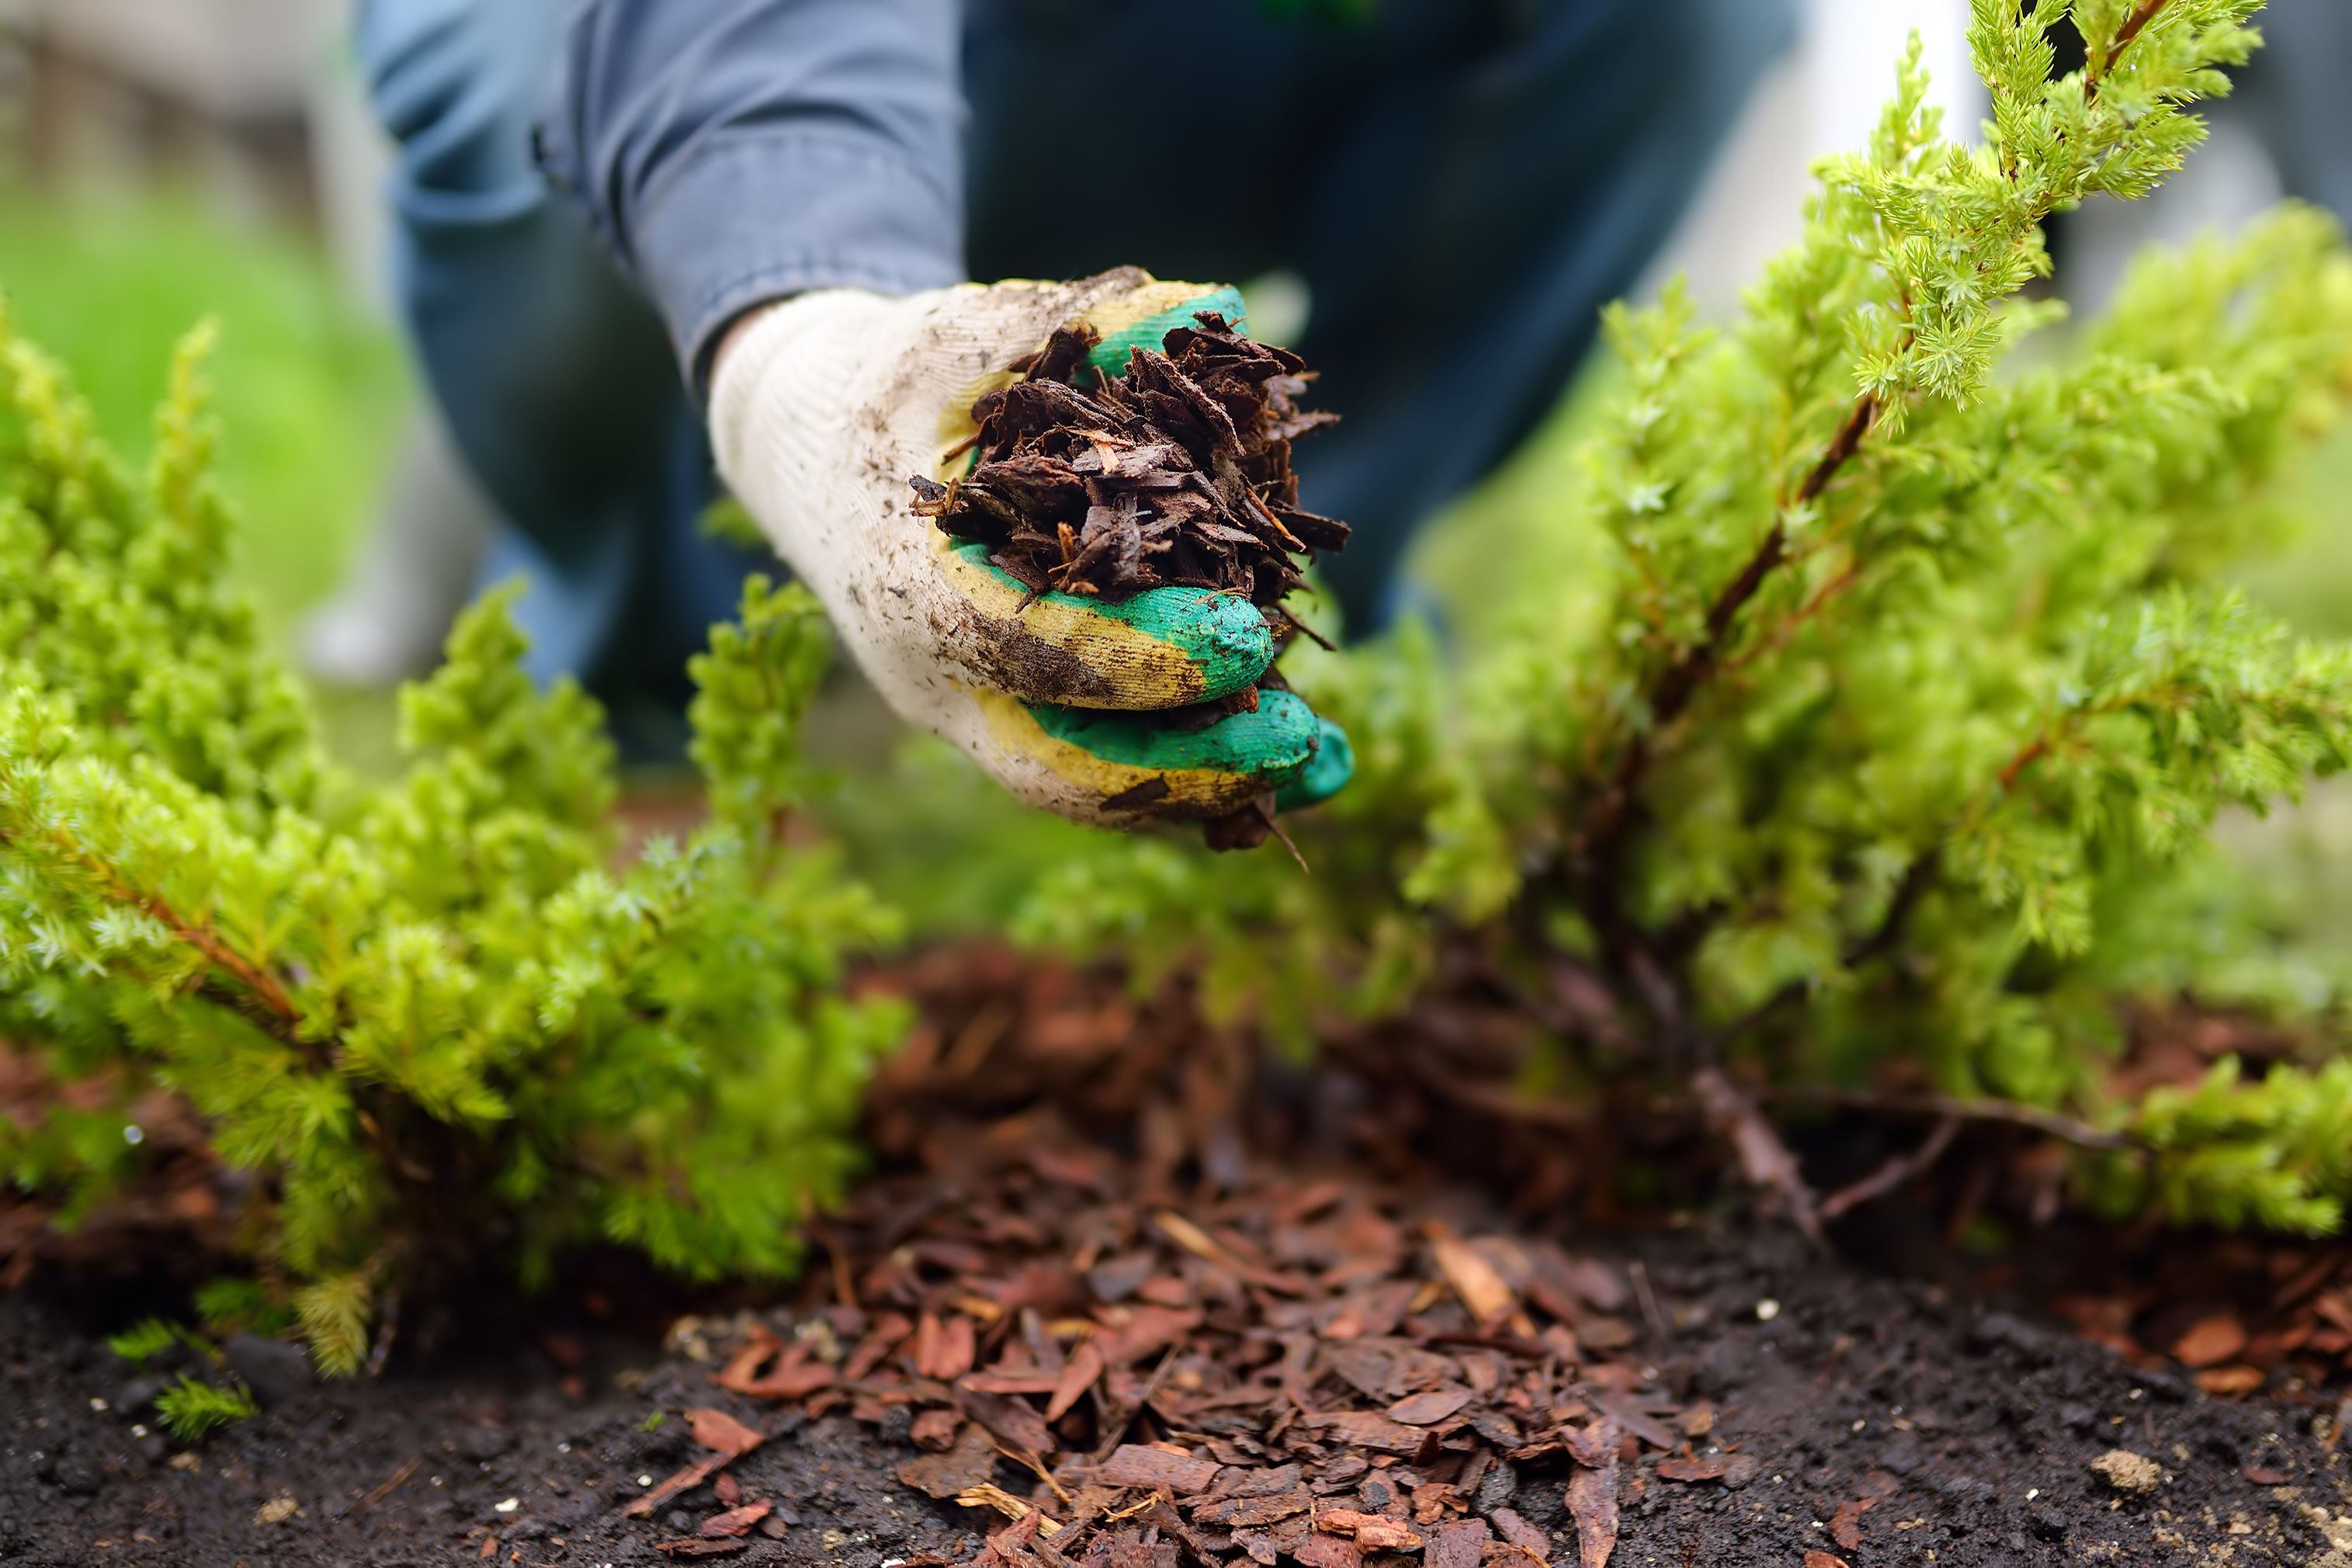
Providing Ongoing Care
After planting, apply a layer of mulch around the base of the shrubs. This will help retain moisture, suppress weeds, and regulate soil temperature. Keep the mulch a few inches away from the trunk to prevent rot.
Regular watering is essential, especially during the first few weeks as the shrubs establish themselves. Monitor the soil moisture and adjust your watering schedule based on rainfall and seasonal conditions.
Pruning and Maintenance
As your shrubs grow, regular pruning will keep them healthy and looking their best. Remove any dead or diseased branches and shape the shrubs to encourage bushy growth. Pruning is best done in late winter or early spring before new growth begins.
With proper planning, installation, and care, your DIY shrub project will thrive, adding beauty and value to your home. Enjoy the satisfaction of having a garden that reflects your personal touch.