DIY Shrub Installation: A Step-by-Step Guide


Introduction to DIY Shrub Installation
Transforming your garden into a lush, green oasis is easier than you might think. Installing shrubs can add beauty, structure, and privacy to your outdoor space. Whether you're a seasoned gardener or a complete beginner, this step-by-step guide will walk you through the process of DIY shrub installation.
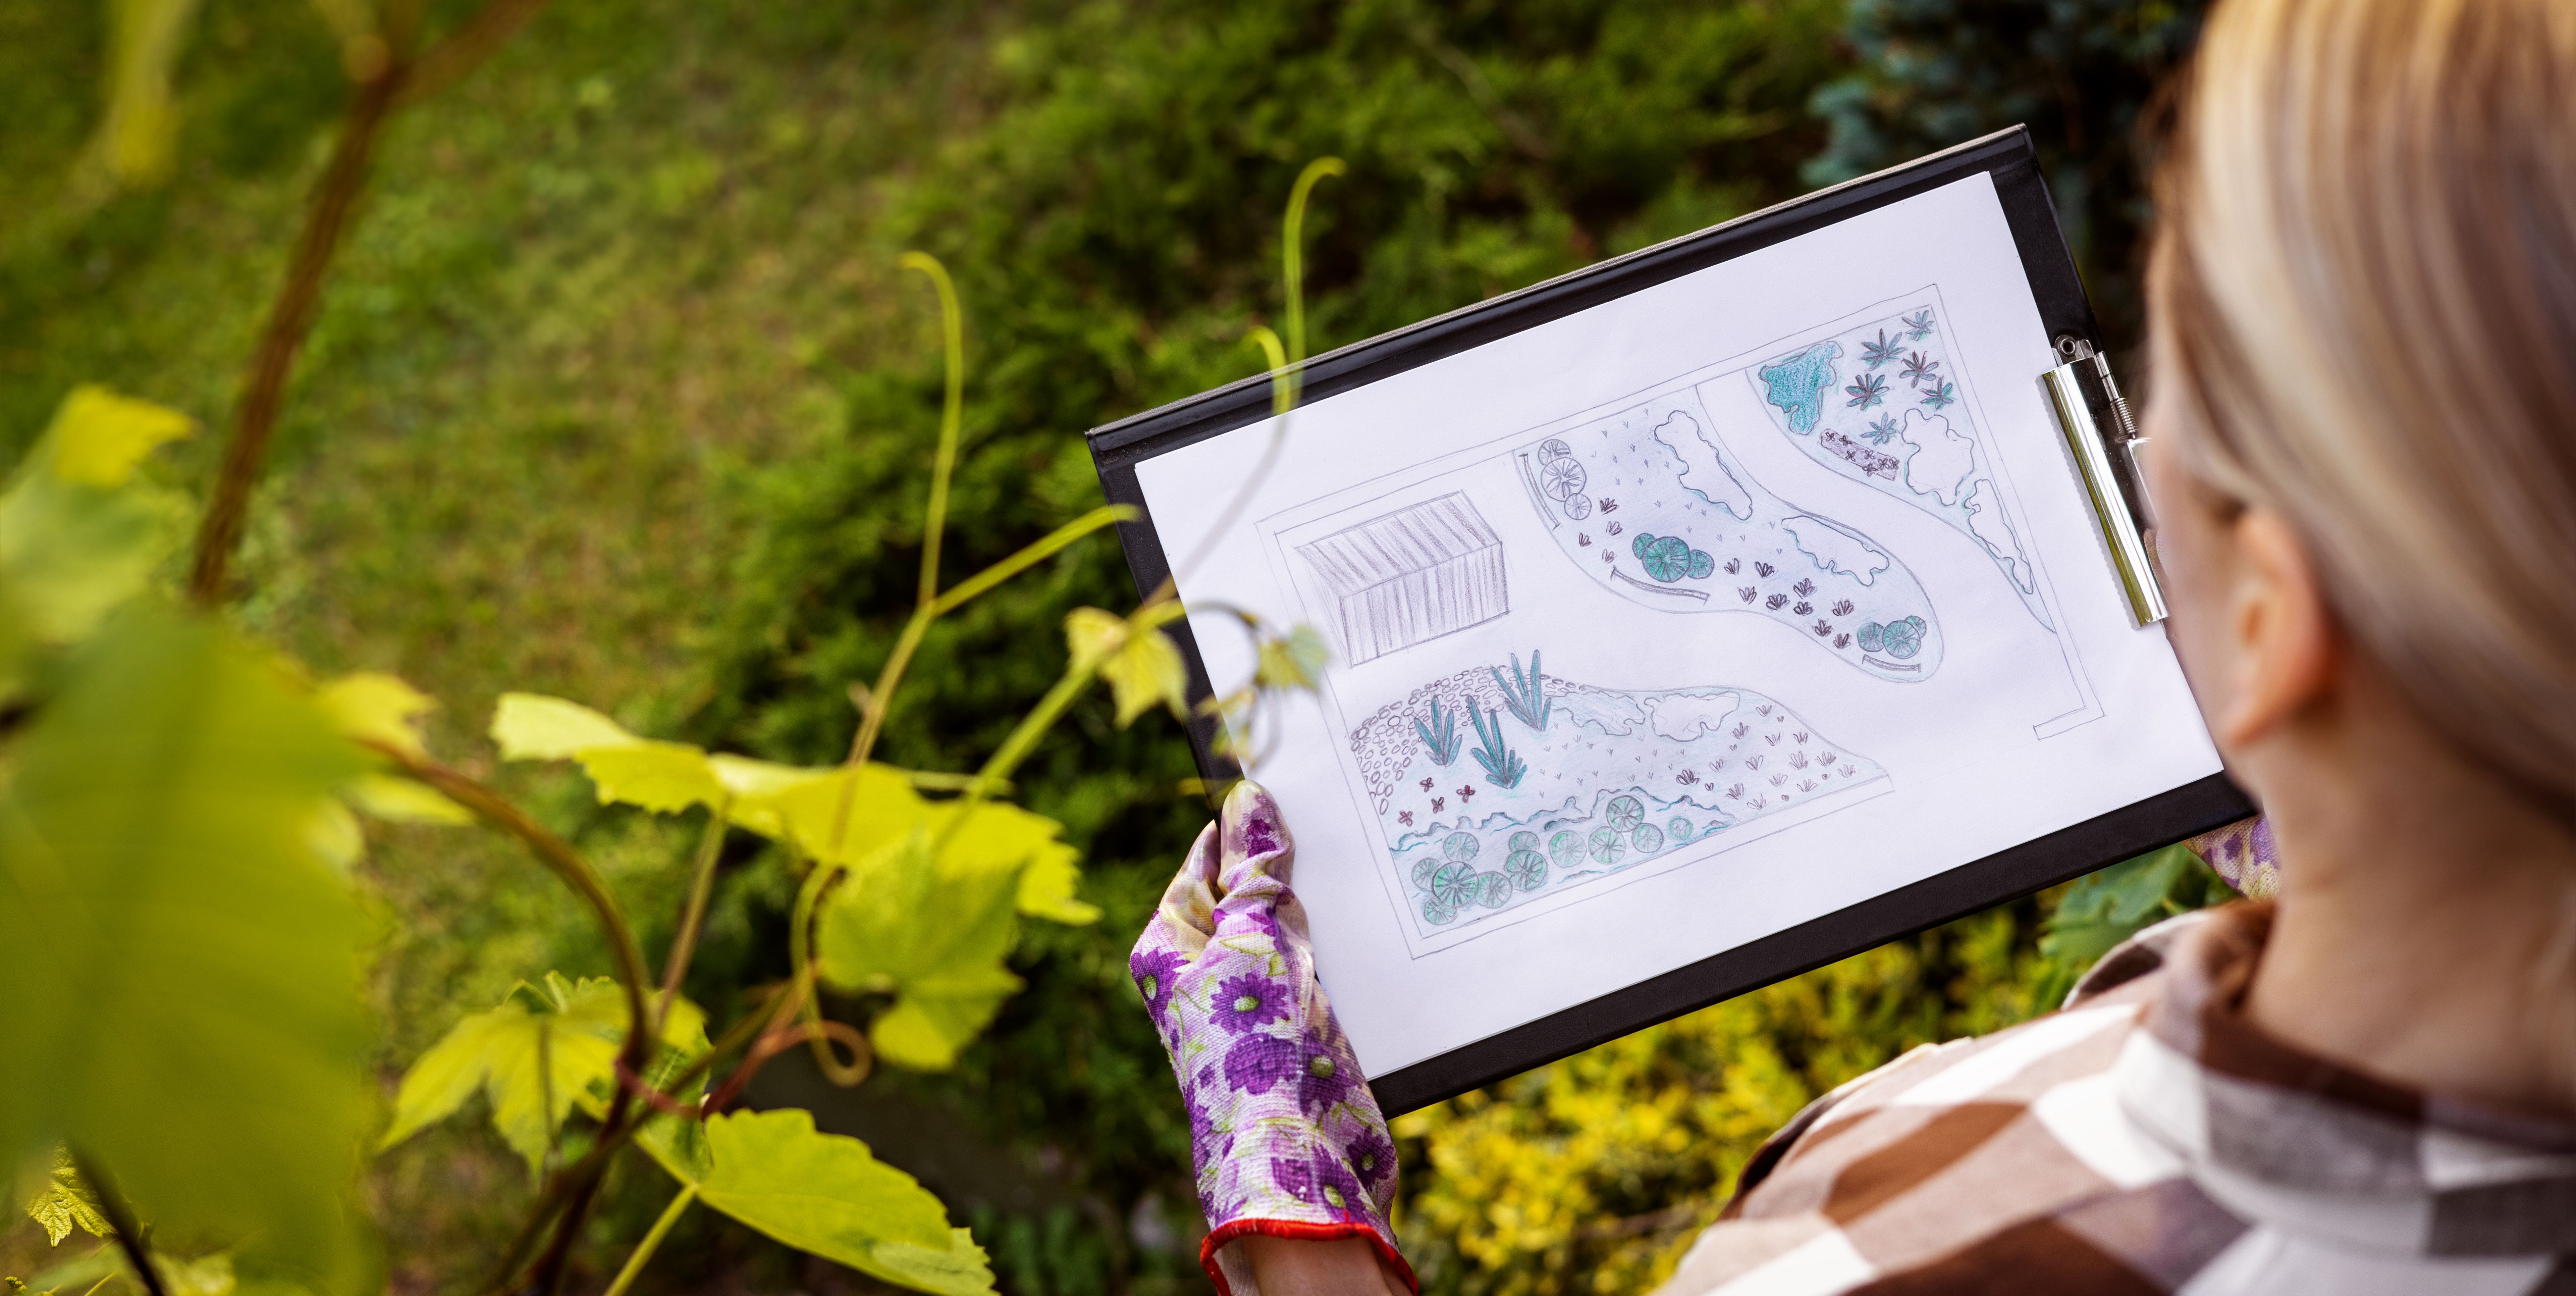
Before you start digging, it's important to have a clear plan in place. Consider the type of shrubs you want to plant, the location, and the overall design of your garden. Proper planning will ensure that your shrubs thrive and contribute to the aesthetic appeal of your landscape.
Choosing the Right Shrubs
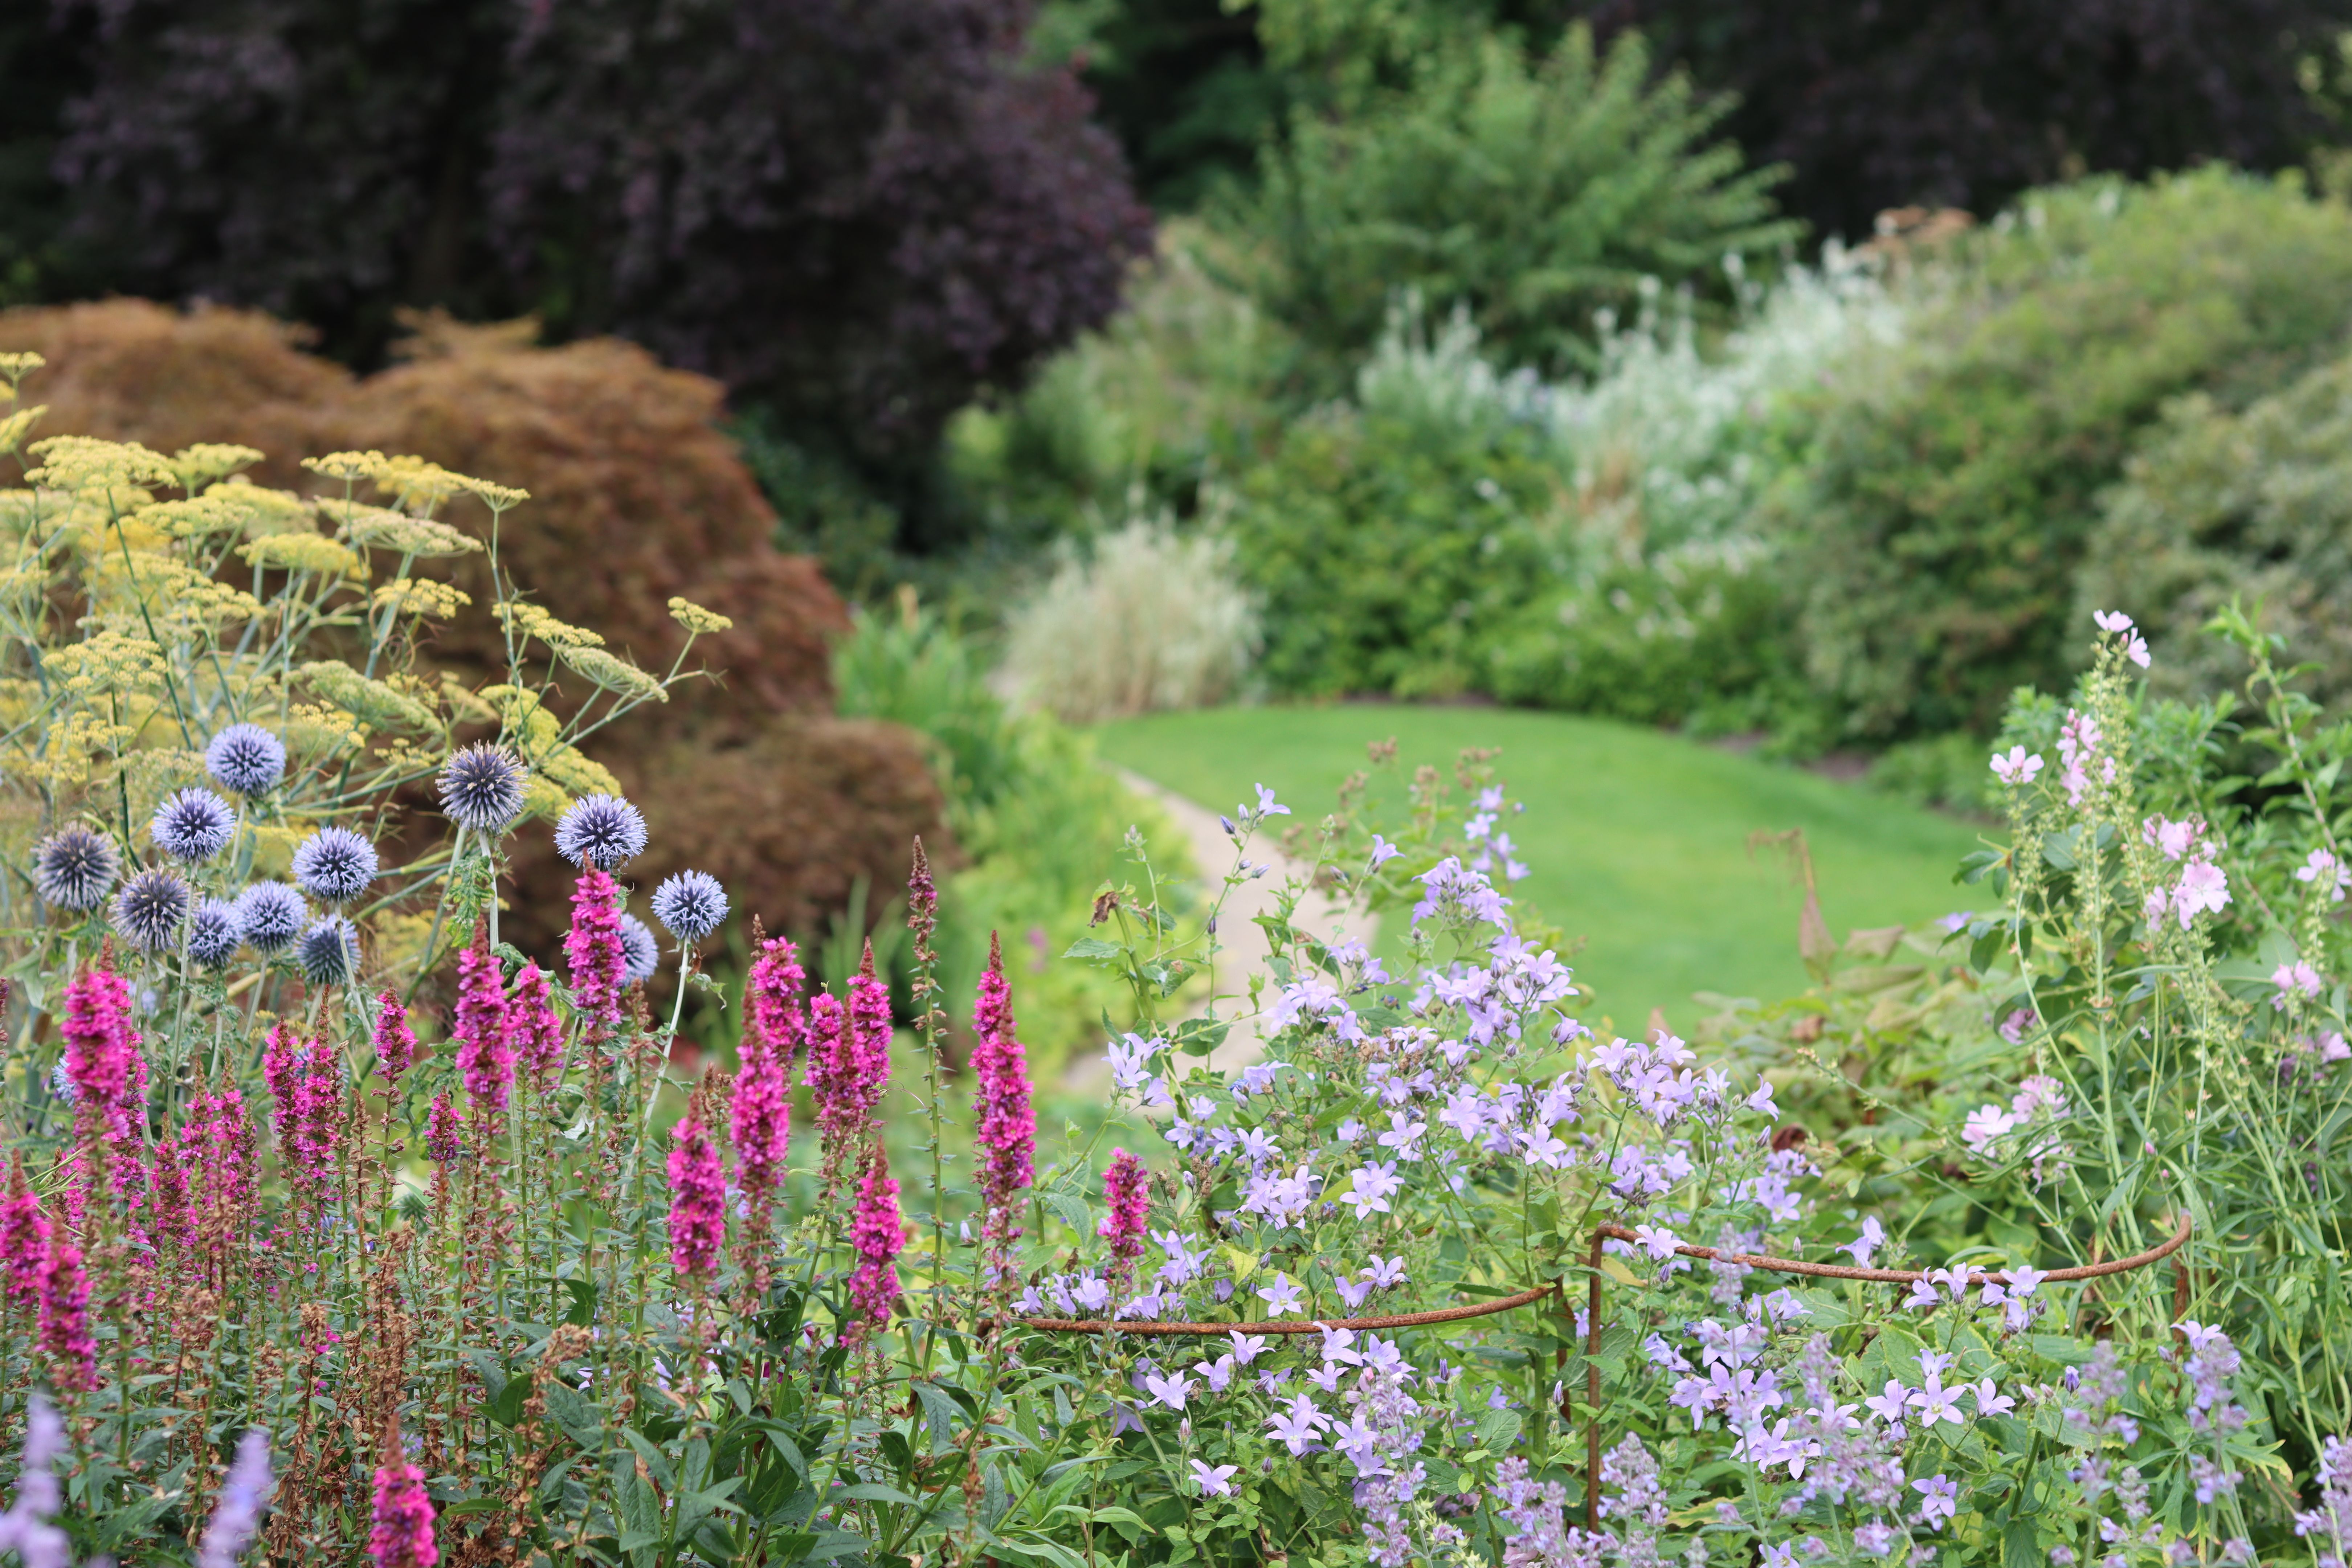
When selecting shrubs, take into account the climate, soil type, and sun exposure in your garden. Choose plants that are well-suited to your environment to promote healthy growth. Some popular choices include boxwood, azaleas, and hydrangeas, each offering unique colors and textures.
Consider the mature size of the shrubs to ensure they fit well in your space. Smaller gardens may benefit from compact varieties, while larger areas can accommodate more expansive species. Take the time to read the labels or consult a gardening expert to make informed decisions.
Preparing the Site
Once you've chosen your shrubs, it's time to prepare the planting site. Begin by clearing the area of any weeds, rocks, or debris. This will create a clean and fertile environment for your new plants. Next, loosen the soil using a shovel or garden fork to improve drainage and root penetration.
It's a good idea to enrich the soil with organic matter, such as compost or well-rotted manure. This will provide essential nutrients and support robust growth. Make sure to mix the amendments thoroughly into the soil to avoid nutrient imbalances.
Planting Your Shrubs
Now that your site is ready, you can start planting. Follow these simple steps to ensure success:
- Dig a hole twice the width of the shrub's root ball and just as deep.
- Carefully remove the shrub from its container, gently loosening any tightly bound roots.
- Place the shrub in the hole, ensuring it's at the same depth as it was in the container.
- Backfill the hole with soil, pressing down gently to eliminate air pockets.
- Water thoroughly to settle the soil around the roots.
Be sure to space your shrubs according to their mature size to allow for healthy growth and airflow.
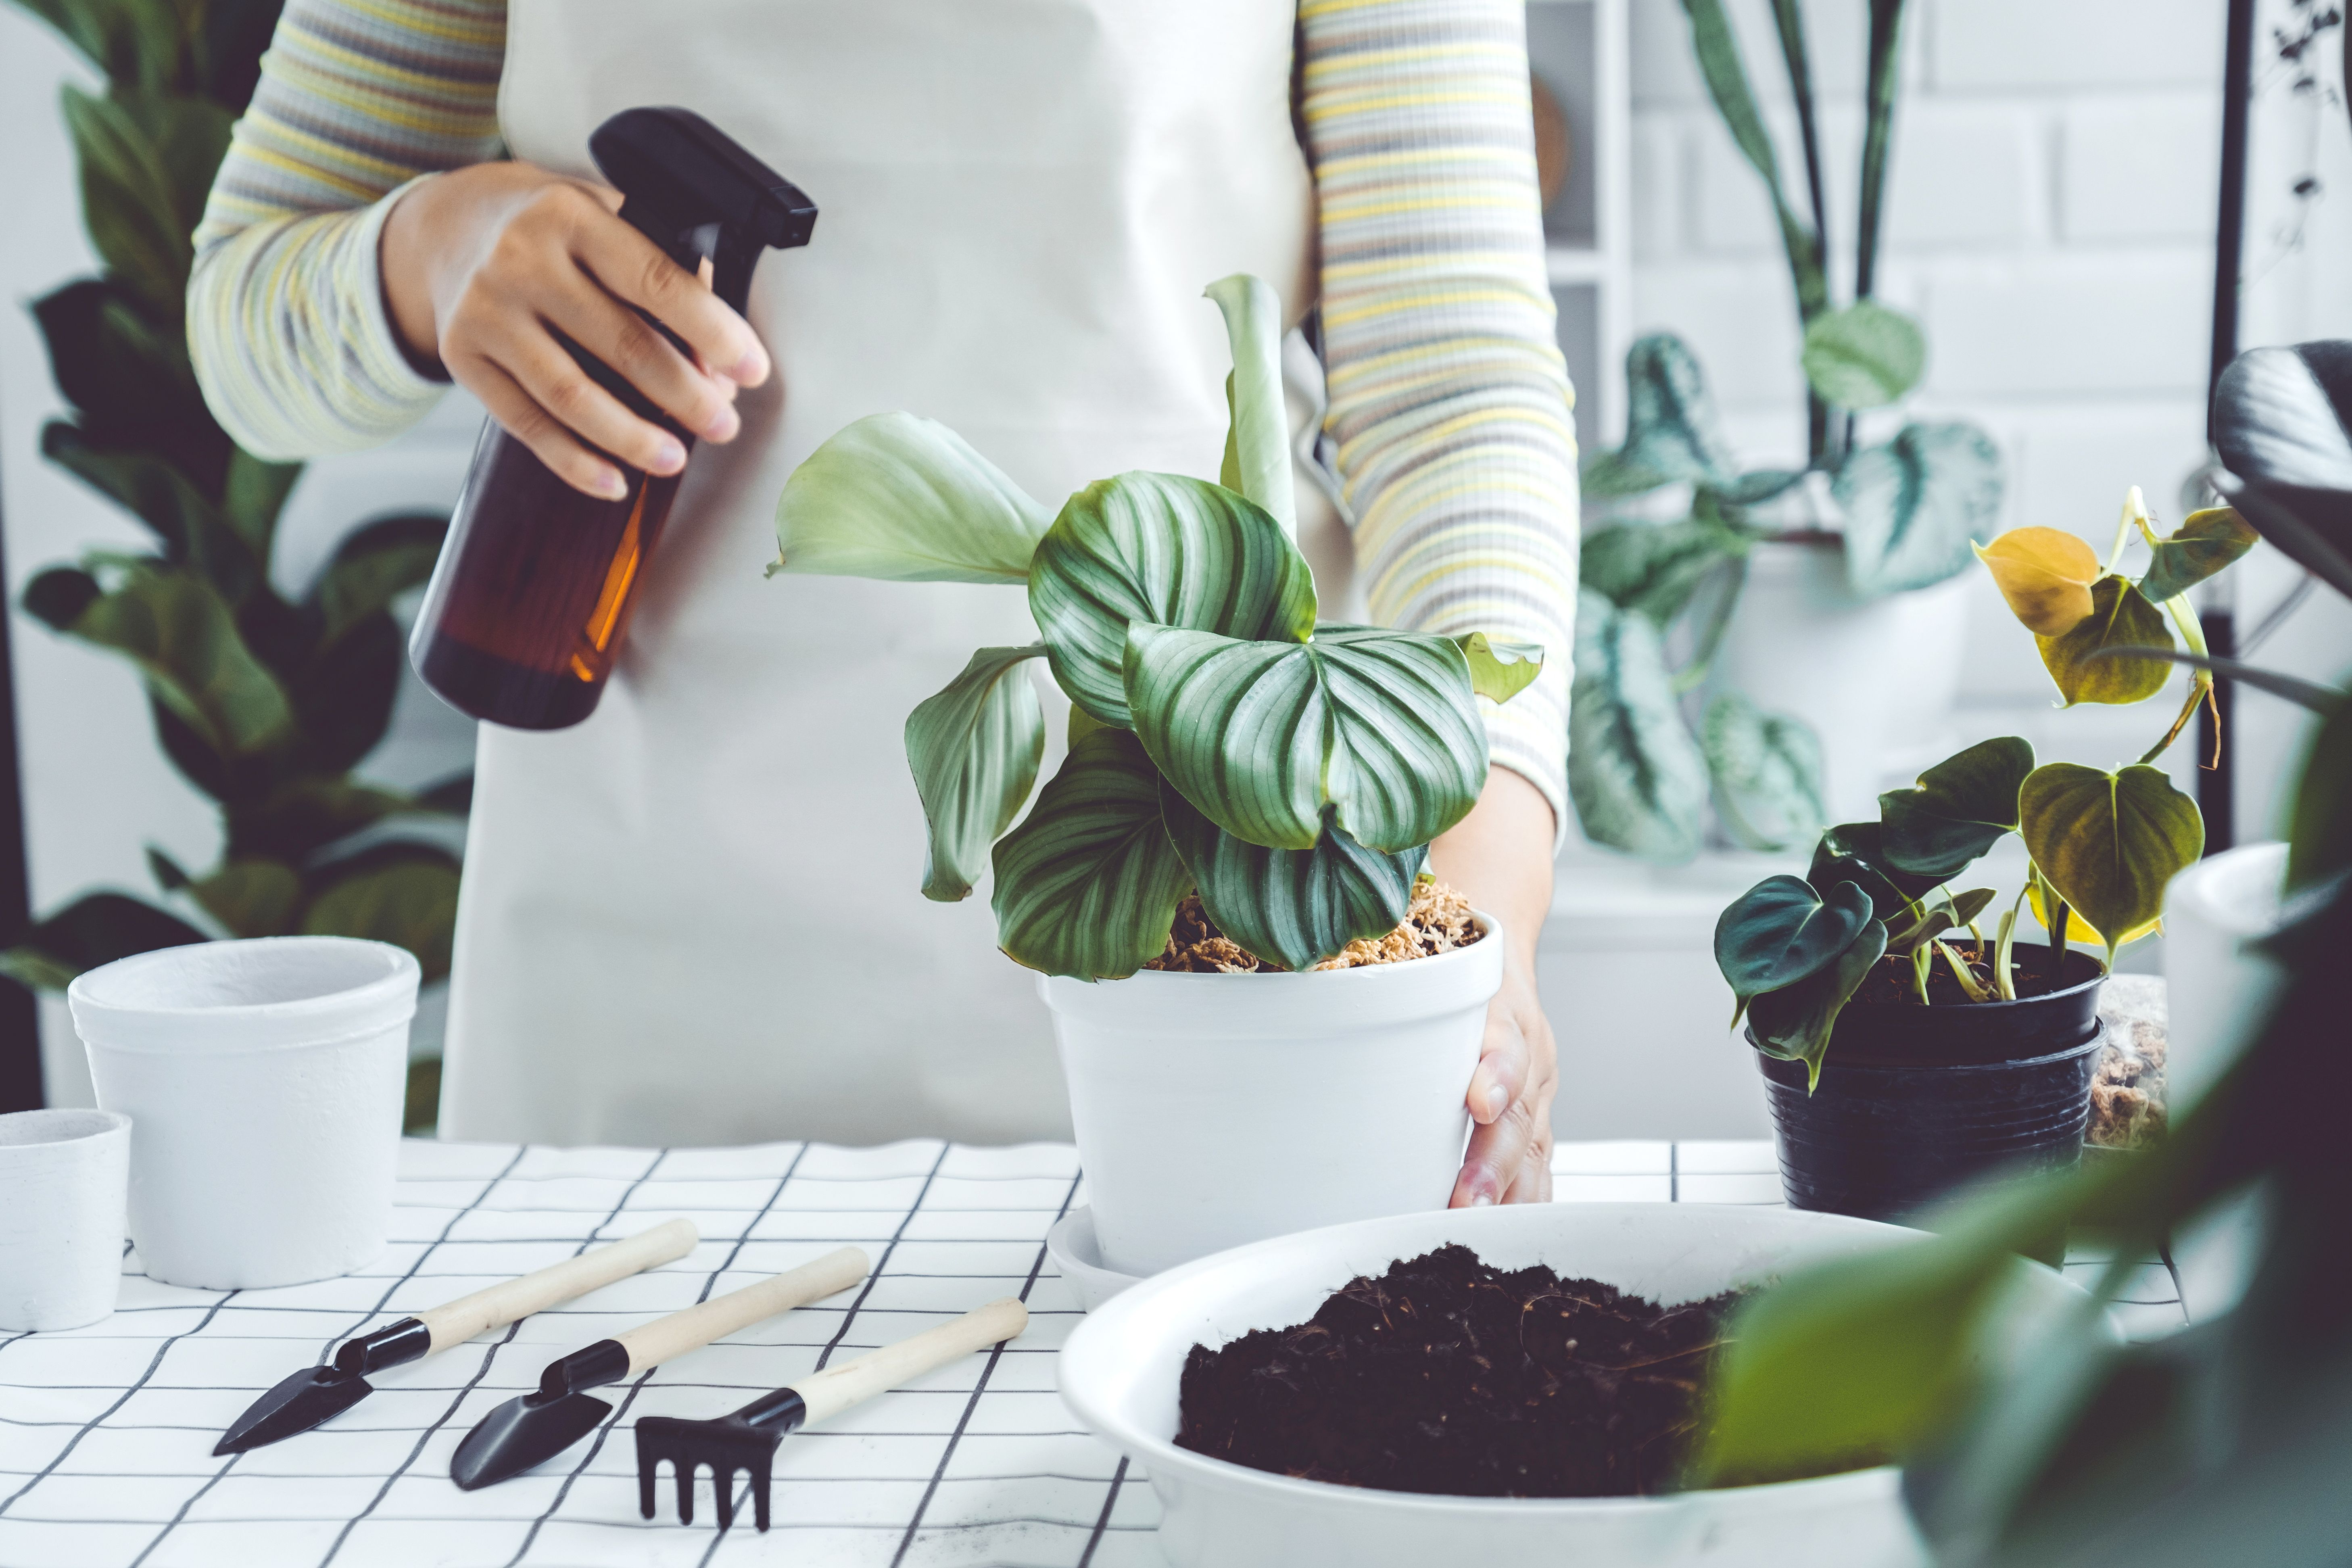
Caring for Your New Shrubs
After planting, proper care is crucial to help your shrubs establish themselves. Water regularly, especially during dry spells, to keep the soil consistently moist but not waterlogged. Mulching around the base can help retain moisture and suppress weeds.
Pruning is also essential to maintain shape and encourage healthy growth. Remove any dead or damaged branches, and trim as needed to keep the desired size and form. With the right care, your shrubs will flourish and enhance your garden for years to come.
Conclusion
Installing shrubs in your garden is a rewarding DIY project that can significantly enhance your outdoor space. By following this step-by-step guide, you'll be well on your way to creating a vibrant and inviting landscape. Remember, the key to success is careful planning, proper planting, and consistent care.
With patience and attention, your shrubs will become a stunning feature of your garden, providing beauty and enjoyment throughout the seasons.